The Languages Beta feature, available under the tour’s Manage section, allows you to have multiple language translations within a single tour.
Previously, translating a tour required duplicating it for each language and linking the tour copies together. With the new Languages feature, you can manage as many languages as you need within a single tour. Visitors can select their preferred language directly in the public tour, and the content switches instantly without reloading the page or changing the tour’s URL.
How to Set Up Languages for a Tour
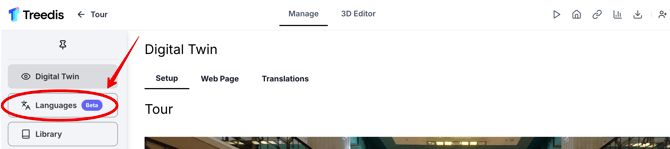
Open the tour's Manage section → Languages.
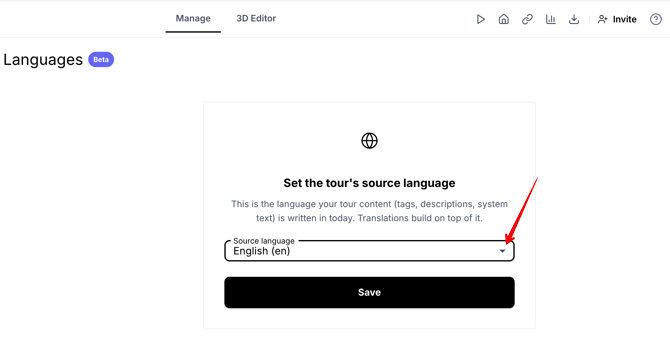
From the drop-down menu, select the tour’s source language — the language your content is currently written in (e.g. English) — and click Save.
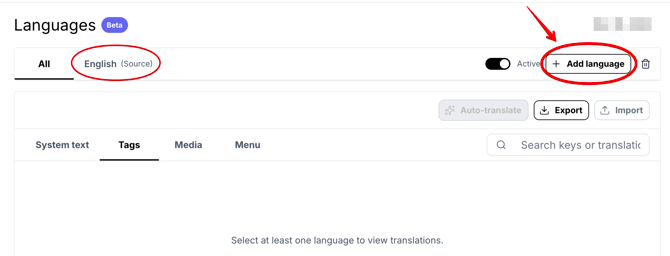
Once the source language is saved, you can add the language(s) you want your tour to be translated into (e.g. German).
System text (1) — the tour’s built-in interface elements — is automatically translated once a new language (e.g. German) is added and saved.
Tour content (2) — such as Tags, Media, and Burger Menu items — is translated separately from the system text. You can translate it in two ways: using auto-translation or typing the translation manually.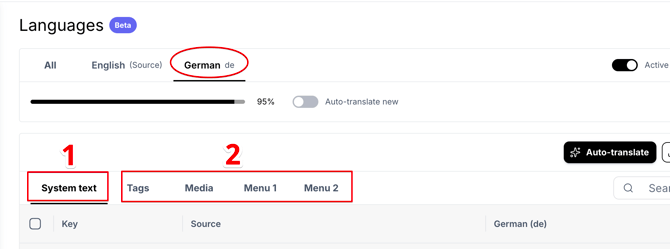
Note: You can add as many languages as you need. However, the built-in bundled auto-translation for System text is currently available only for Arabic, French, German, Hebrew, Italian, Japanese, Korean, Portuguese, Russian, Spanish, Thai, and Vietnamese. Manual translation is still available for any language offered in the drop-down menu.
Translating the Tour’s Content
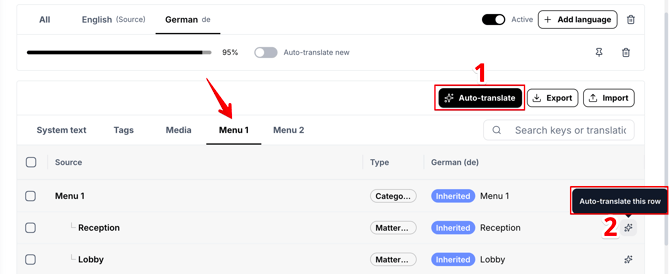
The content created within your tour (Tags, Media, Burger Menu items) can be translated in several ways. Simply select the relevant content tab, for example Menu, and use one of the following three methods:
-
Auto-translate button: Translates all content within the selected tab at once. You can also select multiple rows using the checkboxes to translate only the selected items instead of the entire tab.
-
Sparkle button: Automatically translates a single row. There is no need to select the row first — simply click the sparkle icon. In some cases, you may need to refresh the page to see the translated text.
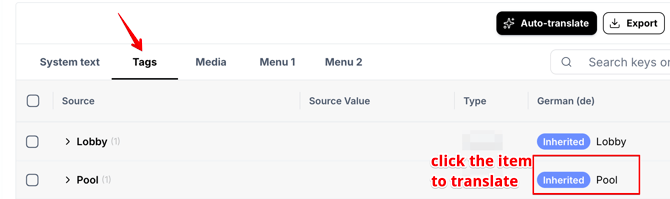
- Manual translation is also available if the auto-translation doesn’t sound natural. Select the relevant content tab, for example Tags, and click the item you want to translate to open its drawer for editing.
-
Enter the translation for the selected item and click Save. The manual translation will be applied immediately.

Content for Translation
| Content | Translation Support |
| Built-in interface text |
Supported (system applies auto-translation) |
| Tag titles and descriptions, including pop-ups, hover tooltips, and floating 3D labels | Supported |
| Burger Menu items | Supported |
| Navigation tool: Destination titles, including the destination panel and navigation bar at the bottom of the screen | Supported |
| Uploaded Media images and videos | Not supported |
| V-Commerce product pages | Not supported (auto-translation is not available, duplicate-tour method required) |
Note: Once the Languages (Beta) feature is enabled for a tour, the older translation tools are no longer applicable to that tour. This includes the Translations page under Manage section, the language switcher used with duplicated tours, and the Brand Profile RTL (right-to-left) setting. Visitors will see only the new language picker.
Interface Elements and Tools
- Auto-translate new: Turn this toggle ON to automatically translate any new content you will add to the tour into the selected language.
- Pin icon: Sets the selected language as the tour’s source language. Existing translations will remain in place but may need to be reviewed.
- Delete (trash icon) for a selected language: Permanently removes the selected language and all its translations.
-
Active toggle: Turns the Languages feature on / off for the tour. When disabled, the tour uses a single language as before, while all existing translations are preserved. You can re-enable the feature at any time.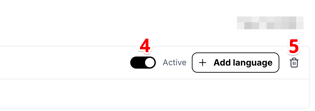
-
Delete (trash icon) for all languages: Permanently removes all languages from the tour, along with their translations. This action cannot be undone. If you only want to hide the language switcher from the tour, use the Active toggle instead.
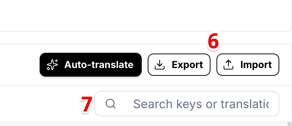 Export / Import: Use these options to export translations to an .xlsx file or import a file to upload translations.
- Search box: Use it to find specific keywords or content needed for translation.
Status Chips
-
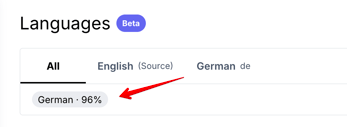
Progress chip (“German 96%”): Shows how much of the tour's content is translated to this language.
-
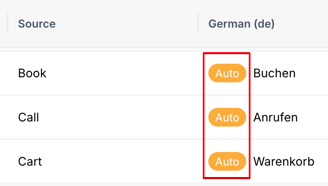
Auto: Indicates that the auto-translation was applied.
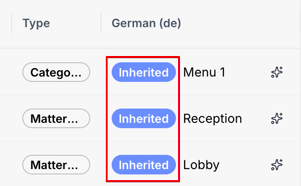
- Inherited: Means there is no translation yet, so visitors will see the source-language text, if it remains untranslated.
How Languages Work on the Public Tour
The Languages feature applies to the public tour only after you have chosen a source language (the original language your tour is written in). Until then, the tour behaves exactly as before.
When a visitor opens the tour for the first time, it appears in the language their web browser is set to, if that language has been added to the tour. If it hasn’t, the tour opens in the source language.
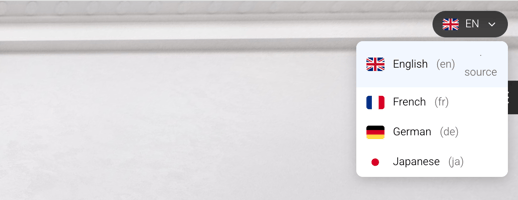
A language picker (flag icon) appears in the top-right corner of the tour. When visitors switch languages, the interface and content update immediately to the selected language.
If you have further questions or need assistance with the settings, please contact us at support@treedis.com